시작
방학이 끝나니 블로그에 글을 쓰는게 정말 맘을 먹지 않고서는 힘들더라고요..
오늘은 좀 쉽지만 많이 쓰이는 CSS방법을 가지고 왔습니다.
혹시 추천시스템이나 Collaborative filtering에 관심이 많으신 분은 댓글을 남겨주세요ㅠㅠ 뭔가 이것저것 물어보고싶은게 많습니다..
문제점
<!DOCTYPE html>
<html>
    <head>
        <title>Hello</title>
        <style>
            .container{
                margin:30px;
                border:4px solid #ddd;
                display: block;
                width:400px;
                height:400px;
            }
        </style>
    </head>
    <body>
        <div class = 'container'>
        </div>
    </body>
</html>
- 이런 테두리를 가진 블럭이 생겼습니다. 여기에 제가 자주 사용하는 짤방을 넣어보겠습니다.
<body>
    <div class = 'container'>
        <img src = '/image/hello.png' alt = 'helloImage'/>
    </div>
</body>

- 제가 사진을 띄우고 싶은 영역을 넘어가는군요. 스타일을 추가해 보겠습니다.
.container img{
    width:100%;
    height:100%;
}

- 사진의 배율이 깨지네요. 디자이너가 보면 격노할 겁니다. 다른 방법을 찾아보죠
<style>
    .container{
        margin:30px;
        border:4px solid #ddd;
        display: block;
        width:400px;
        height:400px;

        overflow: hidden;
    }
</style>
- 이미지 만들어 놓은 것을 지우고 칸이 넘어가는 것을 안보이게 해보겠습니다.
- 뭘 의미하는지 모르겠네요.. 다른 방법을 찾아야 할 것 같습니다.
이미지 크롭하기
<!DOCTYPE HTML>
<html>
    <head>
        <title>Hello</title>
        <style>
            .container{
                margin:30px;
                border:4px solid #ddd;
                display: block;
                width:600px;
                height:300px;

                overflow: hidden;
                position:relative;
                padding-bottom:13%;
            }
            .container img{
                position:absolute;
                left:-26%;
                top:-10%
            }
        </style>
    </head>
    <body>
        <div class = 'container'>
            <img src = '/image/hello.png' alt = 'helloImage'/>
        </div>
    </body>
</html>
결과 이미지
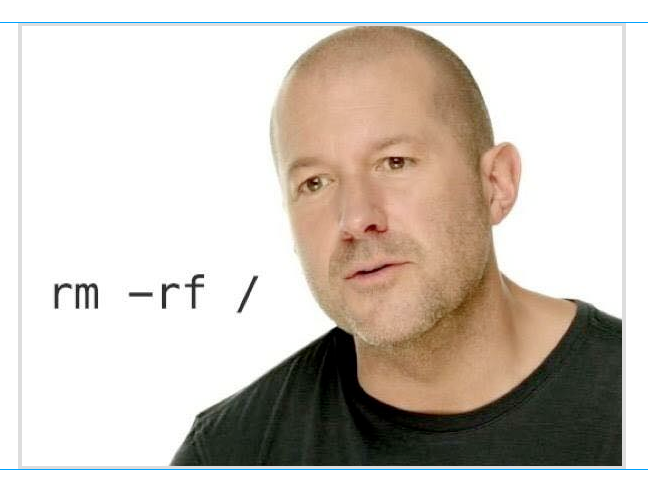
- 깔끔하게 crop이 되었네요. 애플 수석 디자이너 조너선 아이브 사진입니다.
left / top 위치를 수정하거나 padding-bottom, height 나 width 둘 중 하나를 지우고 쓴다면 원하는 결과를 얻을 수 있을 겁니다.